Let me start by saying that I have never written a tutorial before so you may not want to read any further!
Towards the end of last term, my 2 older children told me that their school was trying to reduce waste and could they please take lunchtime drink in re-usable bottles rather than cartons that get thrown away. I thought this was a great idea and promised them that I would make them some sandwich wraps that could be re-used too.
Fast forward 8 weeks and school starts again tommorrow.....
"so did you make our sandwich wraps Mum?".........
"Errrr no not yet, errr, don't worry, I'll do them today!"
So armed with my mobile phone to take some pictures I set to work...
You will need:
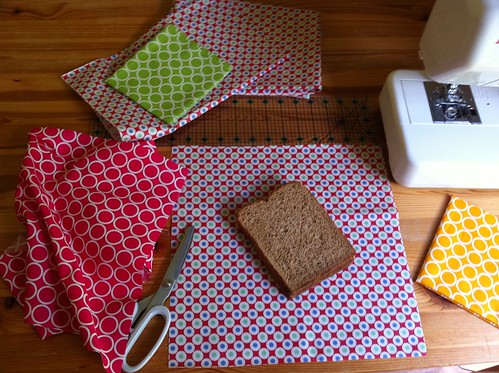
approx 13" square of laminated fabric for the inside of the wrapper
approx 13" cotton fabric for the outside of the wrapper
A closure of some kind. I had planned to use velcro but
I couldn't find it I decided a button would be pretty. You could also attach some ties and just tie it closed.
* Edited * If you are using pins please make sure that you only place them in the seam allowance. Once you remove the pins, the pin-holes are always visible in laminated fabric!
To decide what size to make it I grabbed a couple of slices of bread and guessed, I cut my laminate fabric and cotton fabric to 13" x 13" and it seems to be the perfect size :)
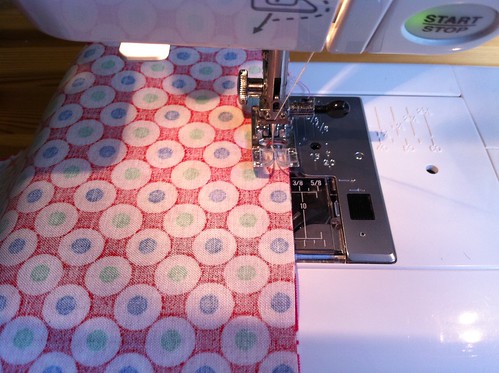
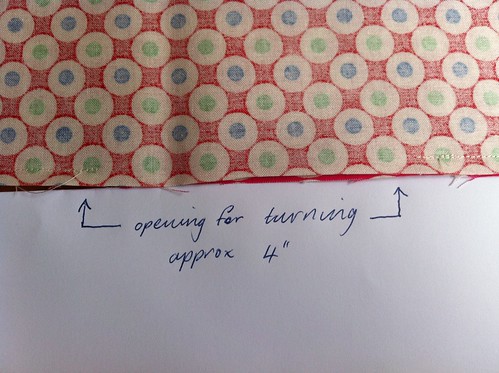
Place the 2 squares right sides together and sew a 1/4" around the edge leaving a 4" gap for turning.
Snip off the corners to reduce bulk
Turn right side out and poke the corners out using a chopstick or something pointy but blunt.
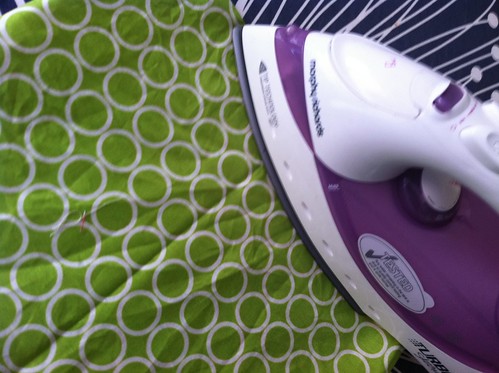
Make sure your iron is on a
cool setting, and iron the cotton side only (
do not iron the laminate side, it might melt!)
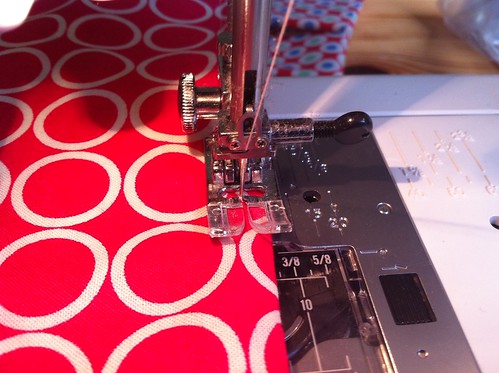
Top stitch approx 1/8" around the edge of the wrapper to keep it stable and seal the opening.
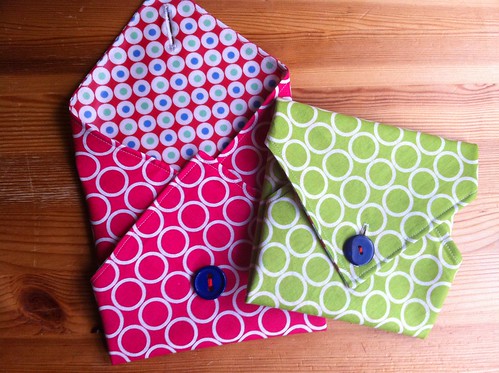
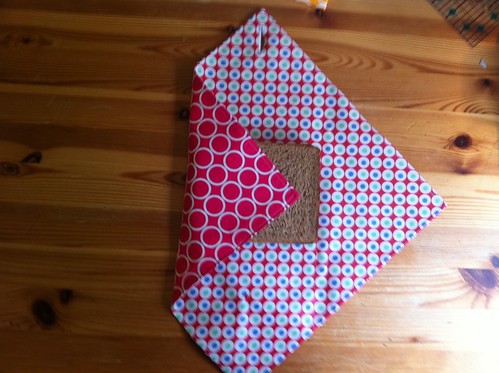
To make the wrapper you fold the corners in, as shown below.
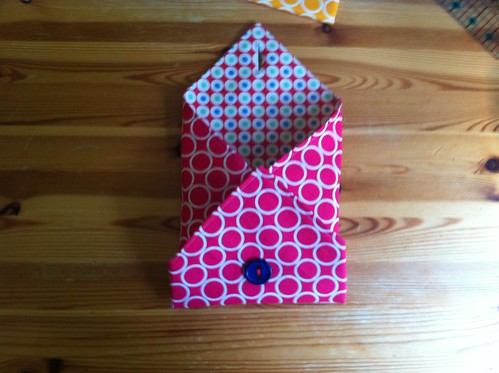
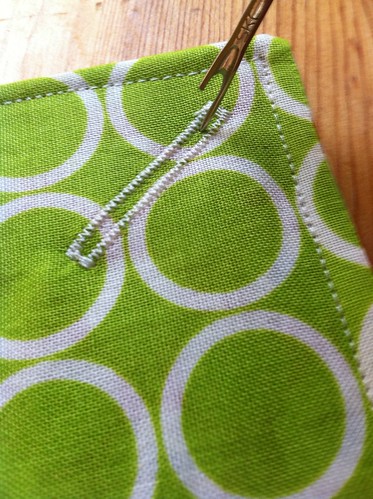
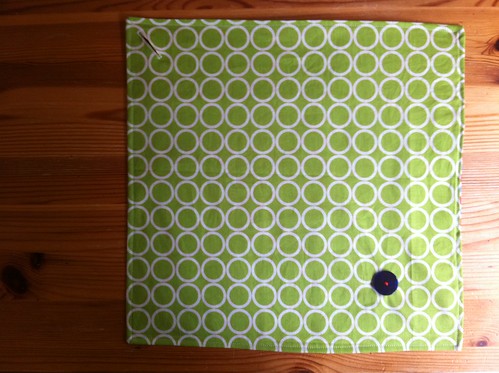
I sewed a button-hole at one corner, and then folded it to decide the best place for the button. I decided the button was good approx 3 1/2" in from the corner.
If you were to use ties you could just attach ribbon to the corner and you would be done.
Sew on the button and Voila! You are done!
These can just be washed along with the dishes at the end of the day and will dry quickly because they are just 2 layers of fabric.
Ready to be used again and again.....
It took me about 45 minutes to make these 2 wrappers, but that included a quick hunt for some velcro, and reading the manual for my new sewing machine because I've never done a button-hole on it before! I think the second one took about 10 minutes, so quick and easy, and Eco-friendly :)
If you have any questions, or comments please get in touch. I've never written a tutorial before so would love to hear your feedback :)